Bonanza! Now You Can Integrate AI on Your Website
Run various AI models on a Django website

prev swe @hometap & honors CS + Econ @northeastern , worked part time @hfaresearch | built @resmeai
Photo by Jen Theodore on Unsplash
Here’s how you can add various machine learning algorithms on your website. Users can try out these features while using the website, without leaving the site. Below are the features and models used in my website and topics covered in the article-
Object Detection — *YOLOv3*
Face Recognition — *Haar Cascade and LBPH face recognizer*
Music Generation — *LSTM (Long Short Term Memory)*
Image Generation — *GANs*
I created this website as my personal home on the internet to showcase some of my projects, blog posts, and skills. I have not hosted it yet, as it still requires a little tweaking. At the bottom of the article, there is a link to my YouTube video showing the functional website.
You can replicate the same process I used to create your own website, with any AI model you like.
As all the AI techniques use python to function, I created the website using Django. Now for those of you who are new to Django, here is a quick introduction-
Django is a Python-based free and open-source web framework that follows the model-template-view architectural pattern. Such an architecture makes it easily scalable and easy to code. (Django Documentation)
Here is the list of all the libraries used
Let’s start with Navbar
 Navbar
I have used *materializecss for design and [AOS library](https://michalsnik.github.io/aos/)* for animation. Here is the code. I have used these libraries on other pages as well.
In the head section, I have added the support for *materializecss and [AOS library](https://michalsnik.github.io/aos/). *This automatically assigns pre-defined property to various elements on the site, making our lives easier.
<nav>
<div class='nav-wrapper' ...>
The above code assigns the property of a navbar to our div element using materializecss library. Then using an unordered list we can add links to various other pages.
Navbar is common to all the pages, thus we can use the same code everywhere. Instead of copying it everywhere, use the following code-
{% include "main/includes/navbar.html" %} //change the string according to your directory structure.
This is fairly simple. Now let’s look at the AI part.
Object Detection
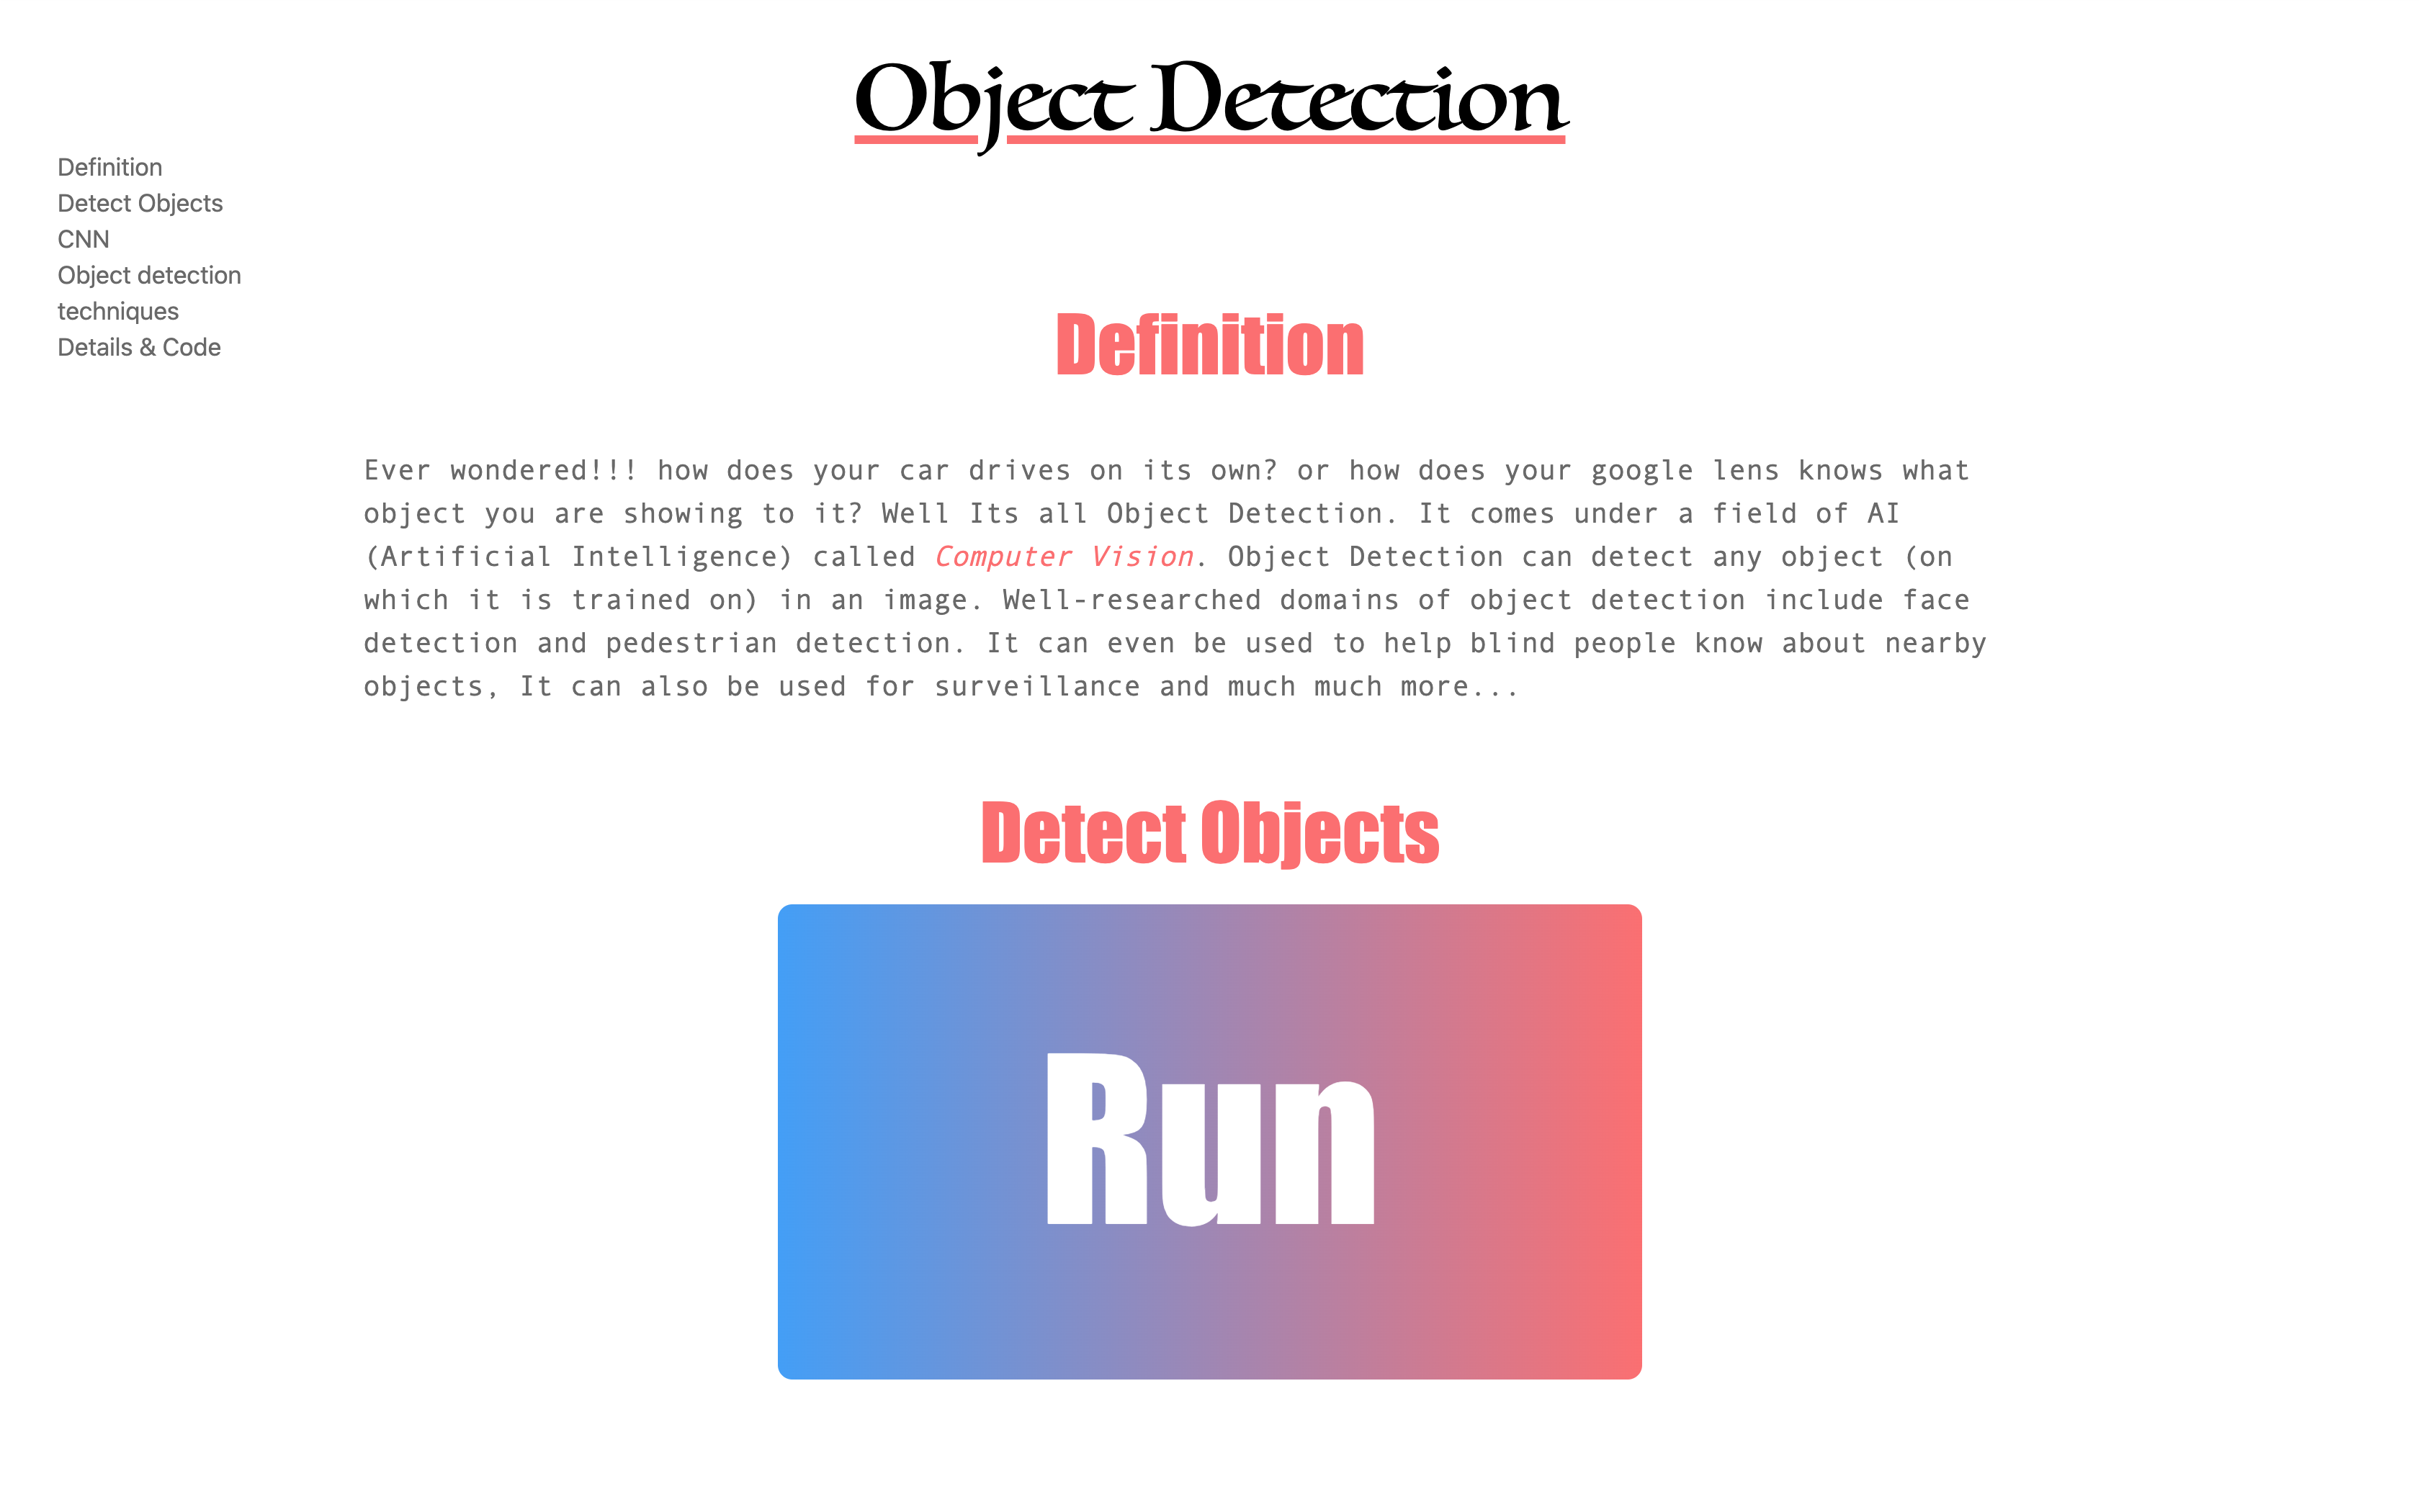 Object Detection page Layout
When the user clicks on the Run button, they are directed to another page, to show the detected objects using
StreamingHttpResponse(gen(VideoCamera()),content_type="multipart/x-mixed-replace;boundary=frame")
**StreamingHttpResponse function allows you to send data in chunks, rather than eating up the space of the entire file at once**. In my case, I have used it to process the webcam data. It can detect objects visible on the webcam and show the results to the user in real-time.
Here’s how this all works-
RUN -> index() -> gen()-> get_frame() -> individual images from the webcam get analyzed and sent back to the gen() function as a byte object, which displayed to the user.
To make the ‘RUN’ button function properly, in the HTML file just add this line <a href=”name_given_in_urls.py”> and in urls.py file, add this path(“any_name”,views.name_of_function_as_in_views., name=”index”) . This is just how Django works, it uses urls.py file to connect HTML templates to views.py file, where logic is written. A similar code has been used for other methods as well, so I won’t repeat it further.
I have used a pre-trained YOLO-v3 model, but you can use any model.
You only look once (YOLO) is a state-of-the-art, real-time object detection system. On a Pascal Titan X it processes images at 30 FPS and has a mAP of 57.9% on COCO test-dev. (YOLO)
Face Recognition
This is a big one, so I will break it down in 3 parts.
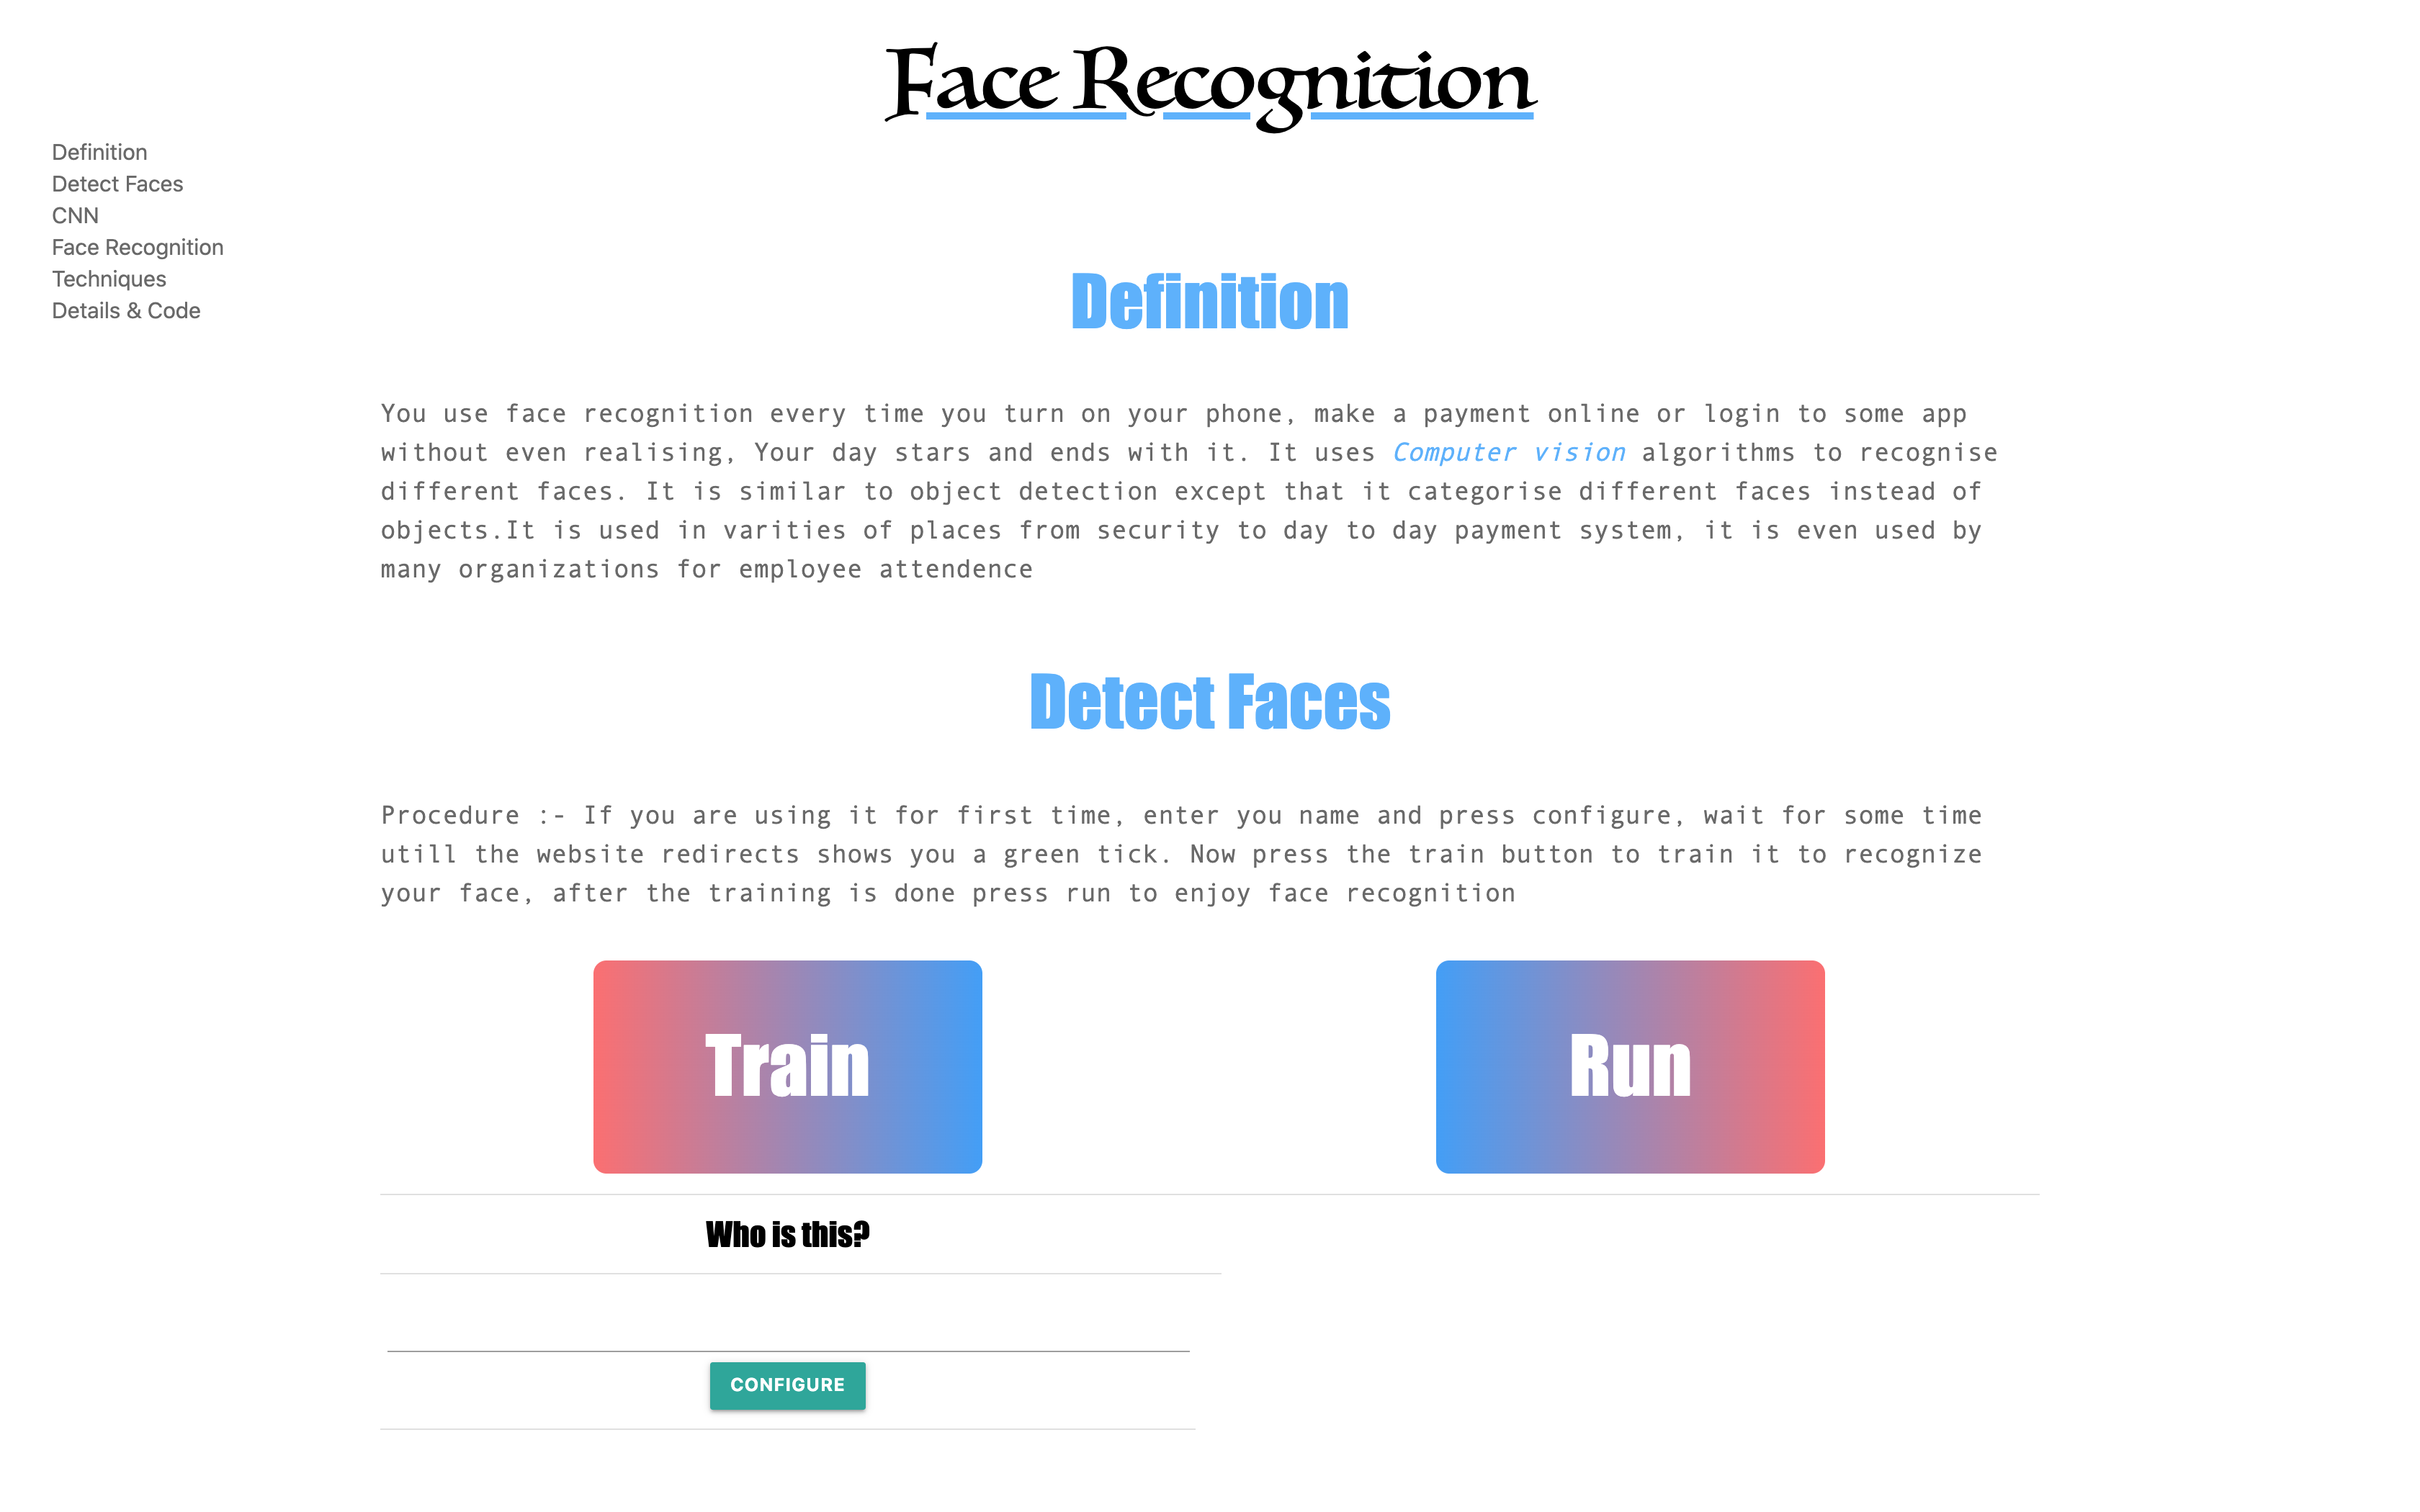 Face Recognition
Collecting user data for training
First, any new user must type their name on the text box and press configure. This runs the def collect(request): function. If all the if conditions are met, this will turn on the webcam and start taking their pictures. It takes 20 pictures of each user using def get_frame(self,name) function in VideoCamera_collect(object) class. It will store these images in the folder named as entered by the user.
Training on user data
Now the user must click on the ‘Train’ button to update weights of the pre-trained model. I have used **Haar-Cascade to detect faces and [LBPH Face Recognizer](https://docs.opencv.org/2.4/modules/contrib/doc/facerec/facerec_api.html#Ptr%3CFaceRecognizer%3E%20createLBPHFaceRecognizer(int%20radius,%20int%20neighbors,%20int%20grid_x,%20int%20grid_y,%20double%20threshold))** to recognize distinct faces.
**Haar Cascade is a machine learning-based approach where a lot of positive and negative images are used to train the classifier [Local Binary Pattern (LBP)](https://towardsdatascience.com/face-recognition-how-lbph-works-90ec258c3d6b) is a simple yet very efficient texture operator which labels the pixels of an image by thresholding the neighborhood of each pixel and considers the result as a binary number. An excellent explanation by Kelvin Salton do Prado- [Face Recognition: Understanding LBPH Algorithm* Human beings perform face recognition automatically every day and practically with no effort.*towardsdatascience.com](https://towardsdatascience.com/face-recognition-how-lbph-works-90ec258c3d6b)
When the user clicks on the ‘Train’ button, def updating_weights_for_face_recognition(request) function is called. It takes all the images from the images folder and detects faces using face.detectMultiScale()function, then the face part of the image is cropped out and fed to rec.train() function, to train the model.
Running the recognizer
After the training, the user can click on the ‘RUN’ button to run the face recognizer. It opens a new window using StreamingHttpResponse() and it recognized faces in real-time. It highlights all the faces using a rectangular box around them with this codecv2.rectangle() and on top of the rectangle, the name of the person is displayed using cv2.putText() .
Music Generation
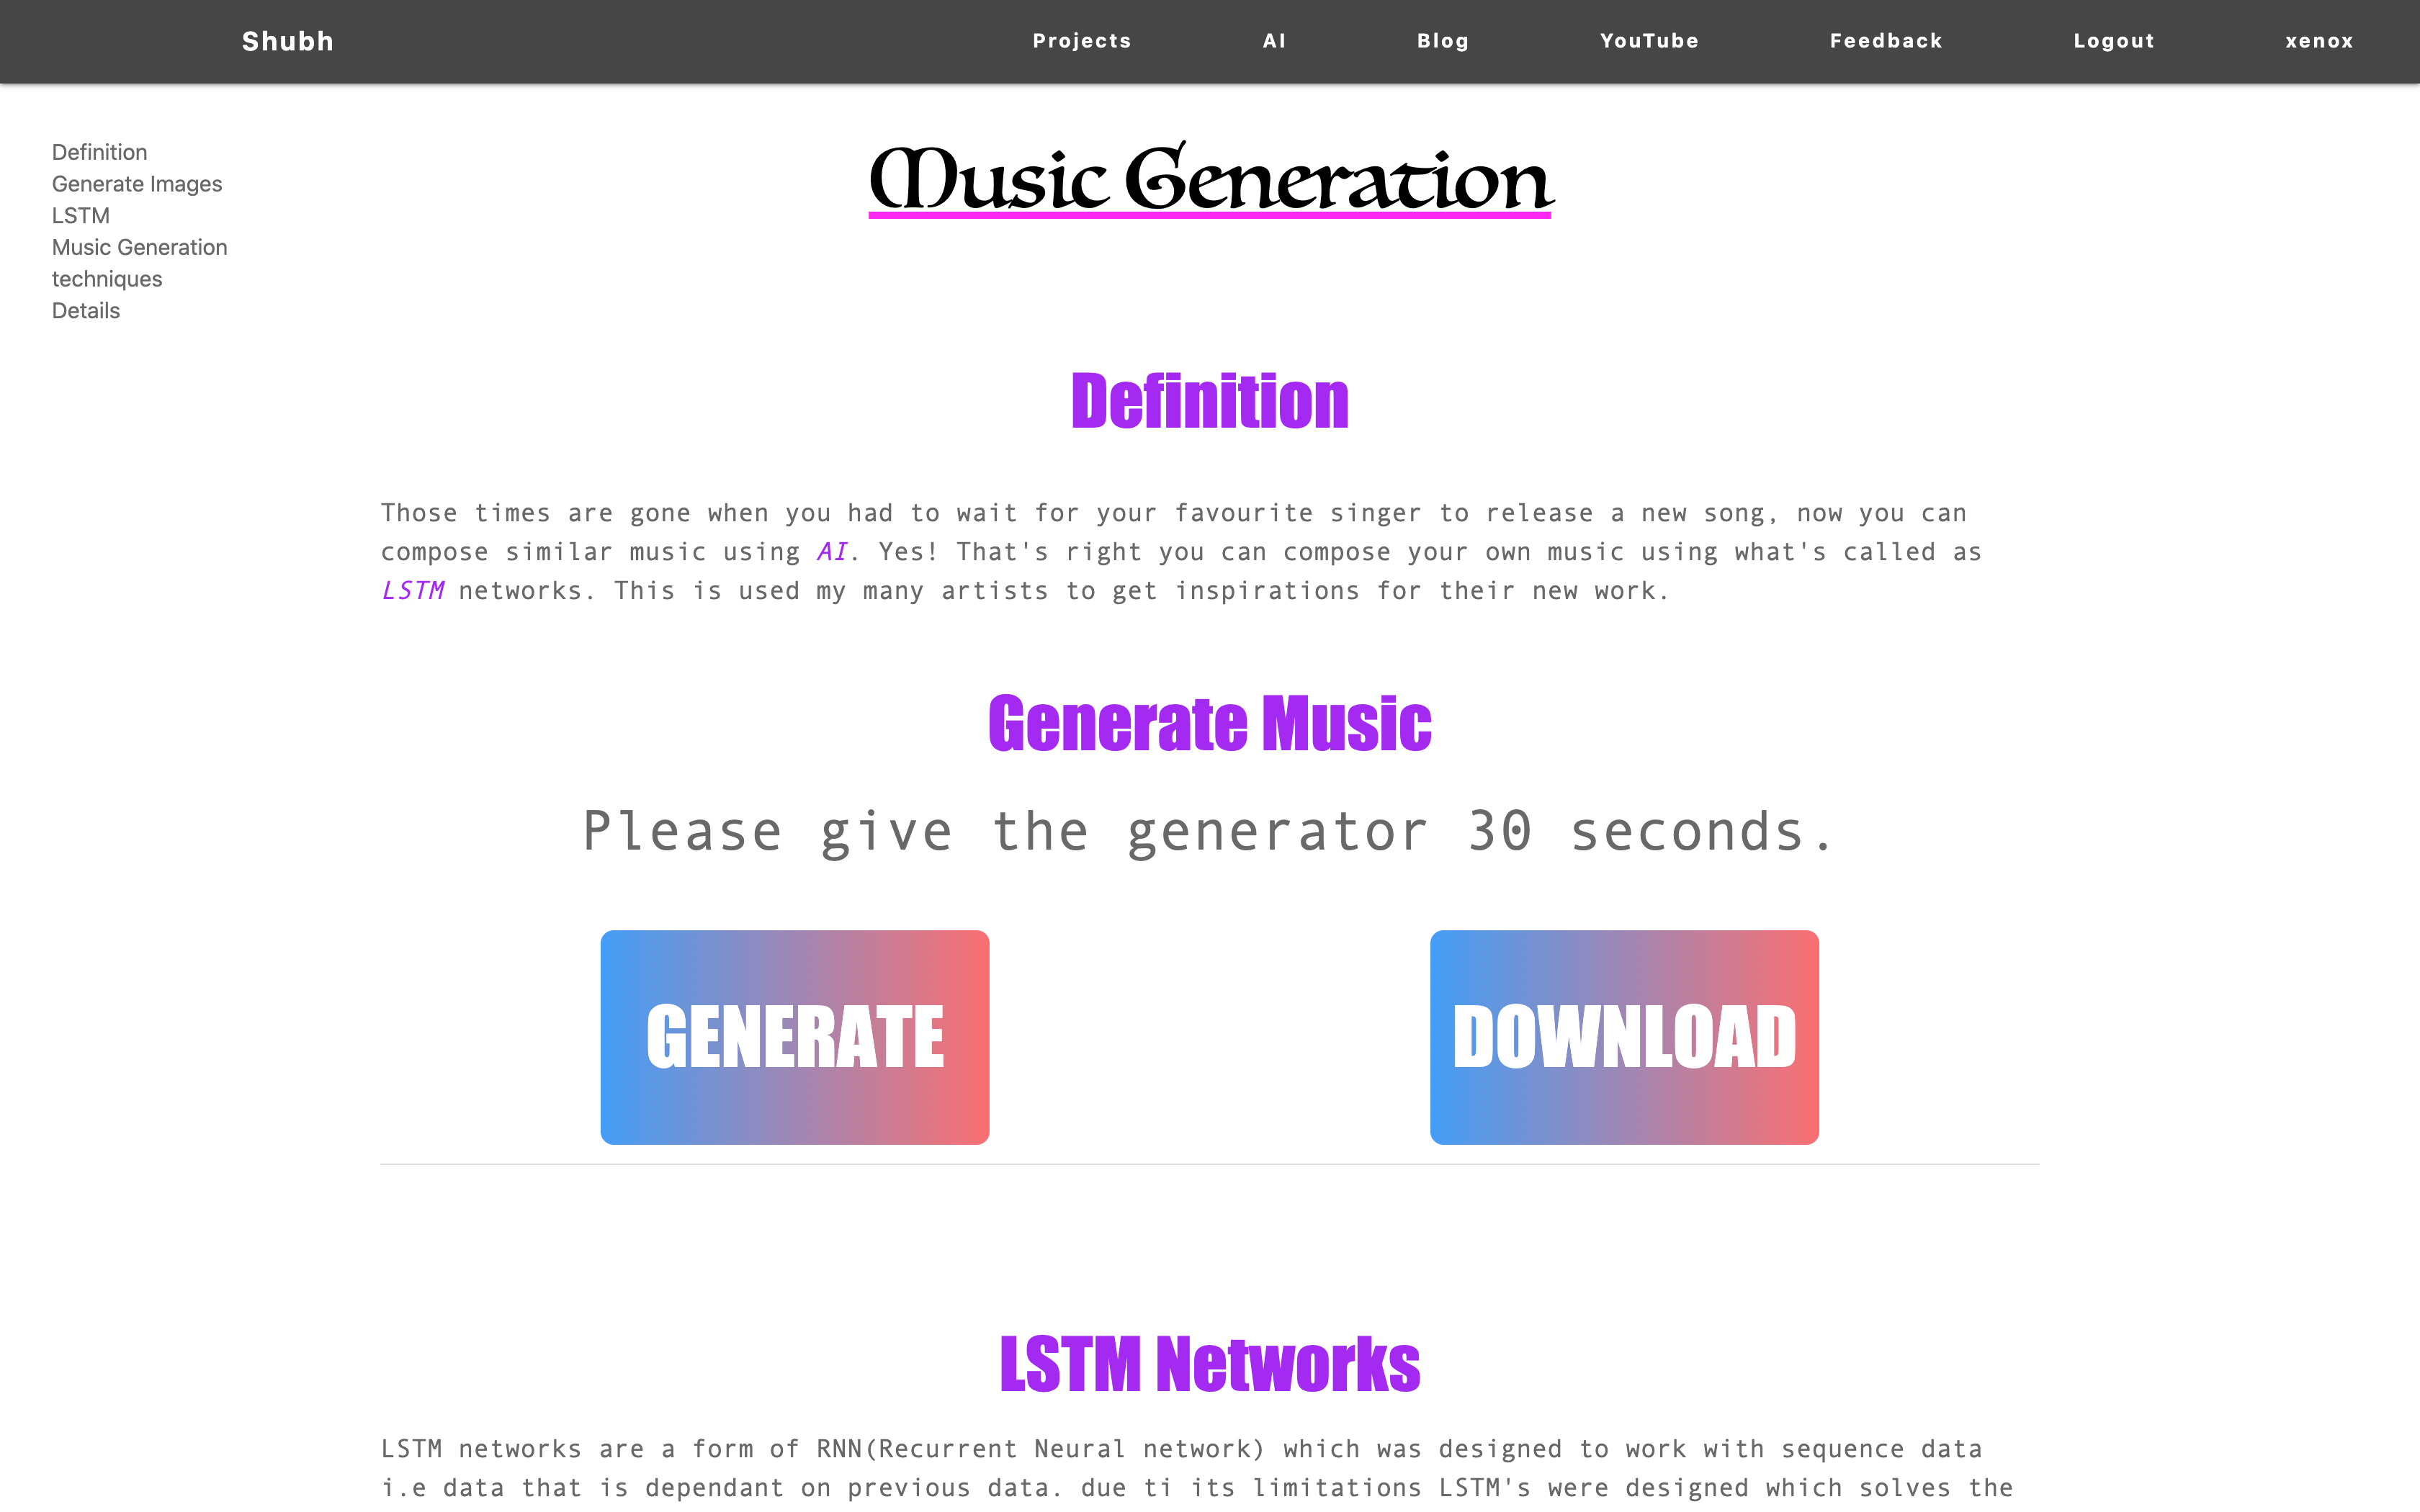 Generate Music
To generate music, I have used the LSTM (Long Short Term Memory) network because it can handle time-series data really well. **LSTM is an advanced variant of [RNN (Recurrent Neural Networks).](https://colah.github.io/posts/2015-08-Understanding-LSTMs/)**
When the user clicks on the ‘GENERATE’ button def gen_music(request) function is called. It then calls def gen_m() function which uses previously created notes stored in a file to generate new notes. The generated notes get compiled to create a midi file using def make_midi() function, which the user can download using the ‘DOWNLOAD’ button.
I have used the pre-trained model, trained on piano music from Final Fantasy. Here is the link to the article by Sigurður Skúli which helped me create this. How to Generate Music using a LSTM Neural Network in Keras An introduction to creating music using LSTM Neural Networkstowardsdatascience.com
Image Generation
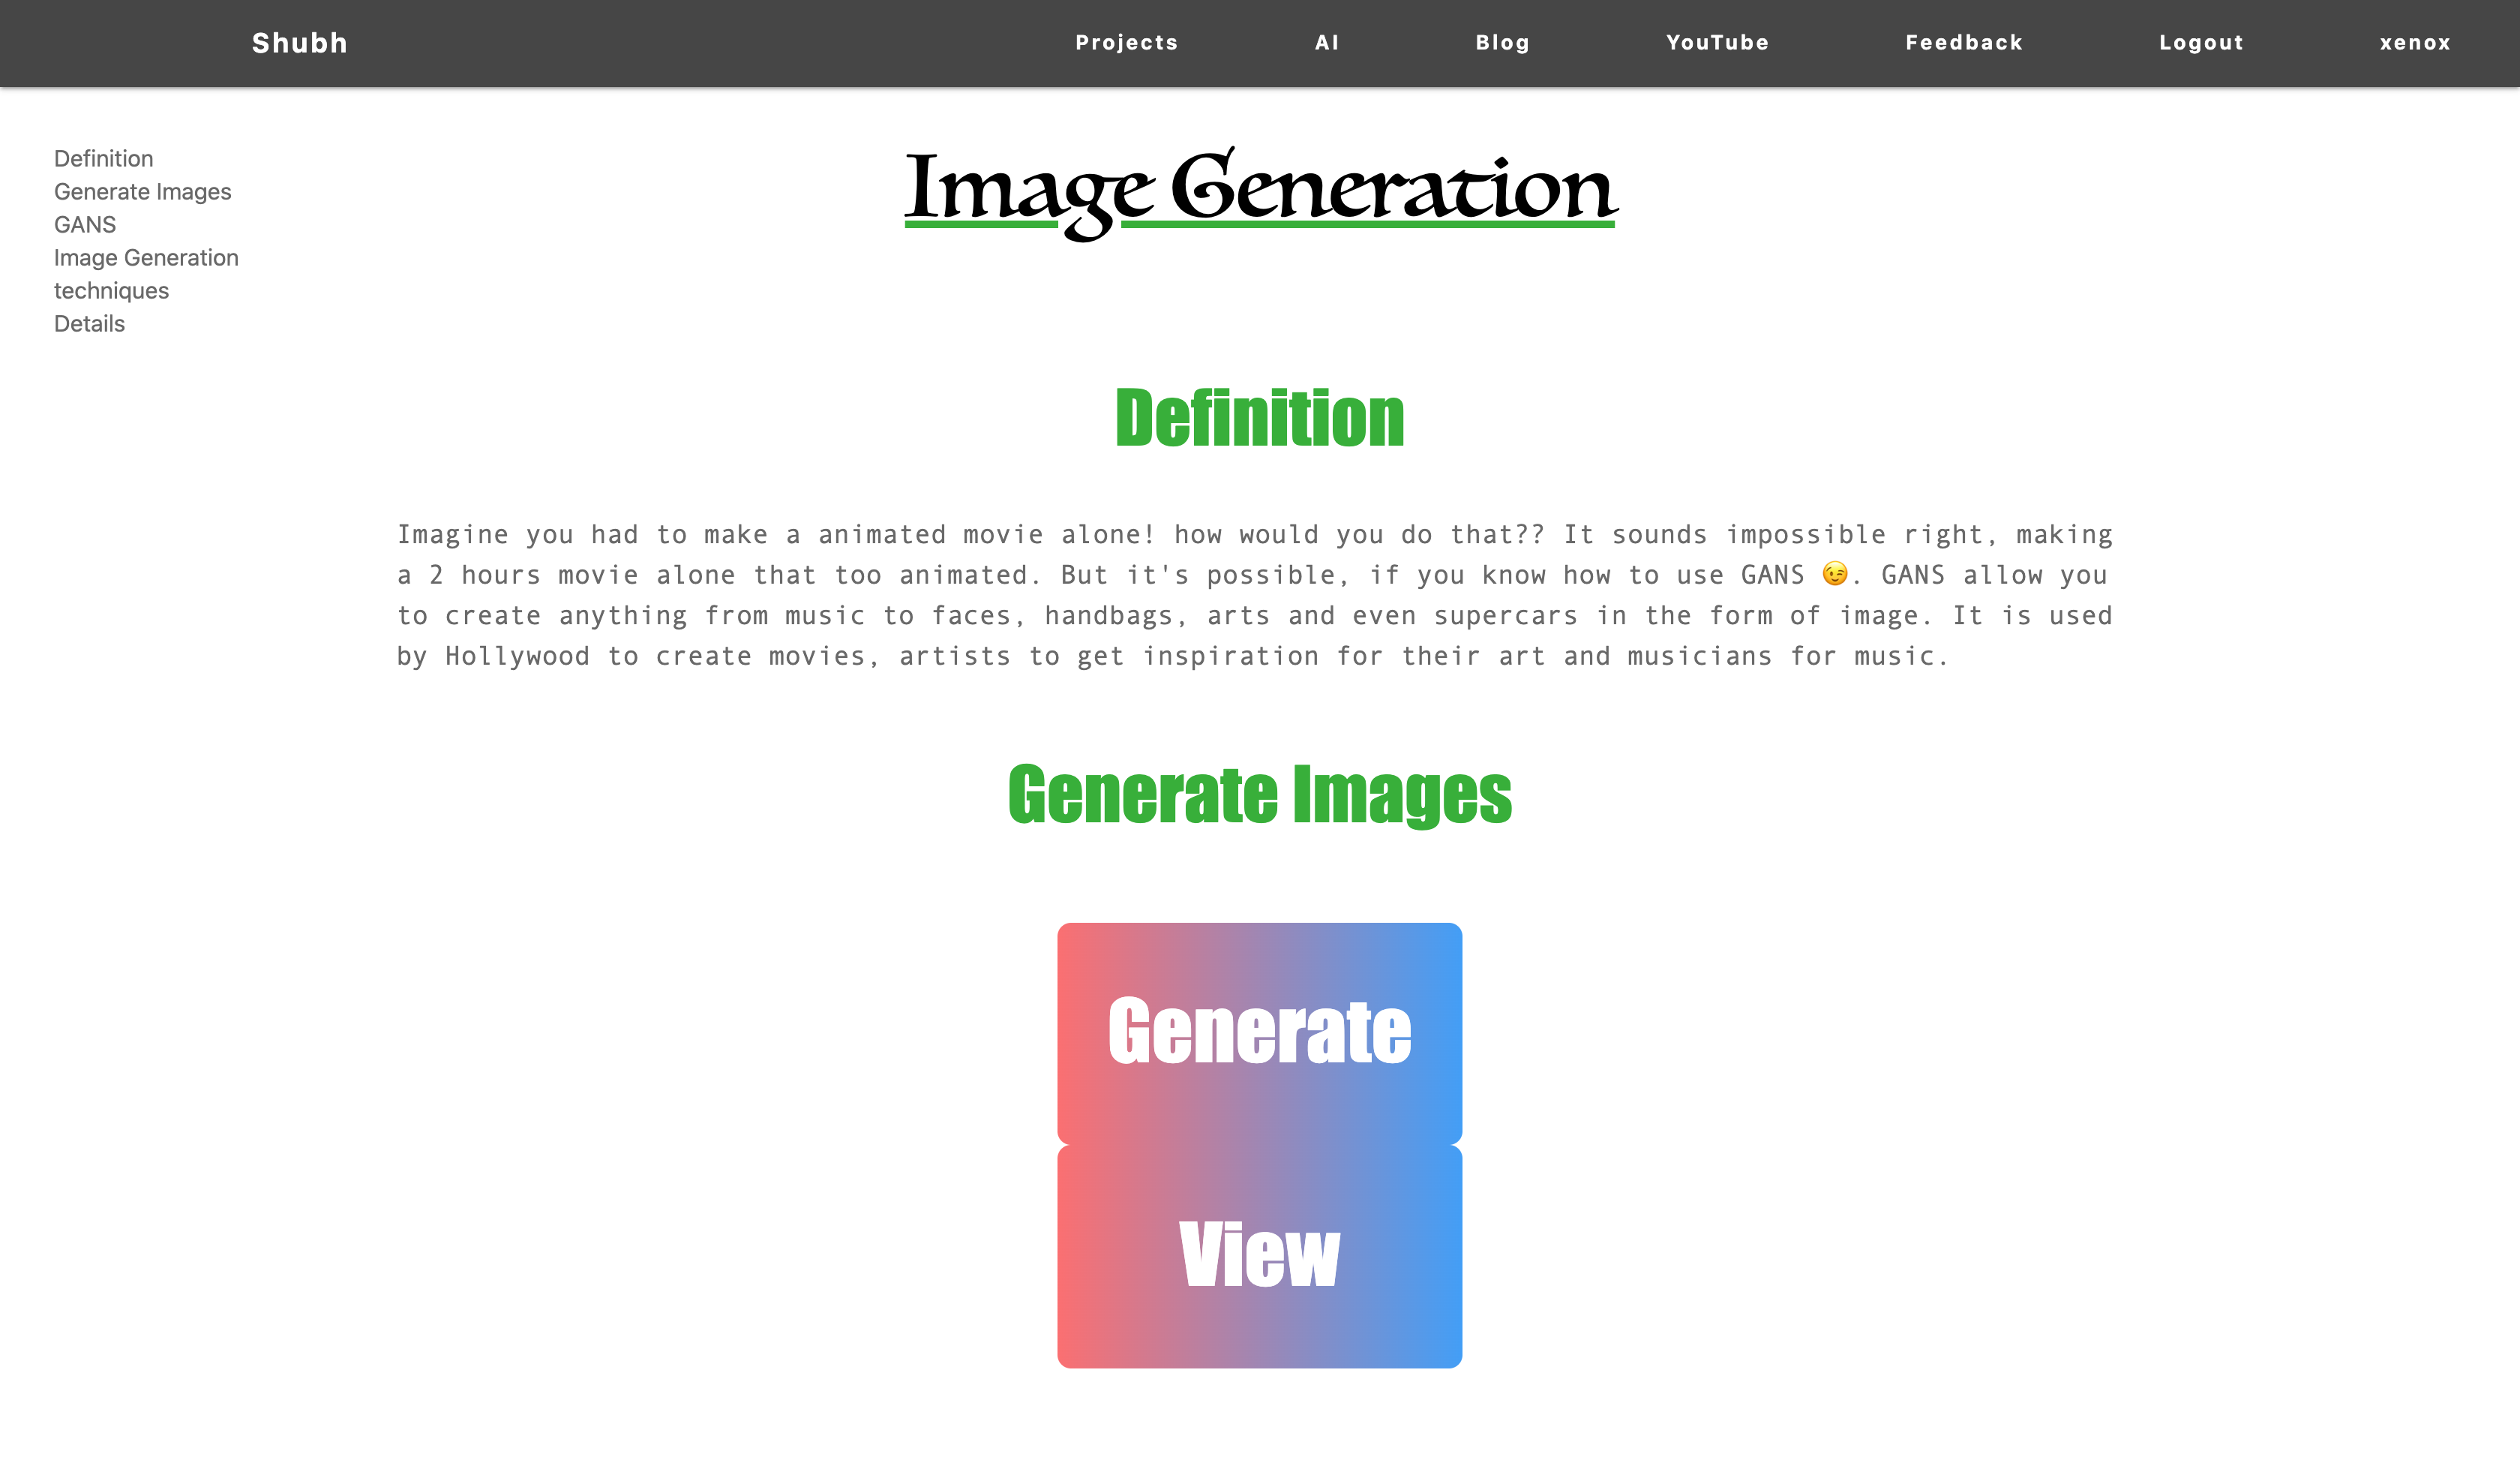 Image Generation
You can generate random images using the above code on your website. Here, clicking on the ‘Generate’ button generates 25 (2525) images at once. These images are stacked vertically and when the user clicks on ‘View’ button **HttpResponse()* is used to display to users. Not that useful, but a better generator can replace the one above and it would still work the same way.
When a page is requested, Django creates an
[**HttpRequest](https://docs.djangoproject.com/en/3.0/ref/request-response/#django.http.HttpRequest) object that contains metadata about the request. Then Django loads the appropriate view, passing the `[HttpRequest](https://docs.djangoproject.com/en/3.0/ref/request-response/#django.http.HttpRequest)** as the first argument to the view function. Each view is responsible for returning an**HttpResponse`** object. (Django Documentation)
To generate images, I have used **GANs (Generative Adversarial Networks),**
GANs are an approach to generative modeling using deep learning methods. Generative modeling is an unsupervised learning task in machine learning that involves automatically discovering and learning the regularities or patterns in input data in such a way that the model can be used to generate or output new examples that plausibly could have been drawn from the original dataset.
Conclusion
I have intentionally used relatively light models due to the lack of a powerful server, in fact, I have not yet hosted the website. But the same method can be applied to any model of any size, as long as you have enough computational power. Here is the source code of this article- site (1).zip Edit descriptiondrive.google.com
If you are curious to see the website running, I have created a funny YouTube video explaining the function and its funny use cases.
I hope this helps with your next AI website. Let me know if you are running into any issues.