This Simple Code Allows You To Use Face ID On Mac
iPhone, iPad, and Windows laptops have Face recognition, Why not Mac?
 Photo by Kari Shea on Unsplash
It is just frustrating for me to type my lengthy password every time I open the lid of my mac. My phone and Ipad have Face ID, why not Mac?
Whenever I have a guest/cousin at my house and if I have to show them something on my Mac, it just feels weird to type my password fast, so that they can’t make out what I am typing. We all have been there in similar situations, haven’t we?.
Here’s the link to my funny YouTube video demonstrating the final outcome.
Let’s solve this problem
You will need several things to get started:-
Python 3 and sleep watcher for mac. Also, make sure you have pip functioning properly so you can install the required libraries.
Collecting Images
First, we need to collect images to train our model.
We start by importing cv2, which allows us to work with images and do many things with it. pickle allows us to convert a python object into a byte stream to be stored as a file (we don’t need it here right now). os allows us to find and check for files and folders in this code. Time allows us to pause the script so we can collect images easily. pathlib allows us to get the path to the directory where all the files are. We then load the haar_cascade to detect faces. The following while loop checks if there is any face in the image or not and collects the images with faces and stores them in a folder called Images/{name}. name is the name of the person entered by the user.
Full code with all the files available here:- patni11/Face_ID You can't perform that action at this time. You signed in with another tab or window. You signed out in another tab or…github.com
Now that we have collected the images, we need to train our model.
Training the model
Here we will be using LBPH Face Recognizer. I found an excellent medium post by Kelvin Salton do Prado explaining the concept. Face Recognition: Understanding LBPH Algorithm Human beings perform face recognition automatically every day and practically with no effort.towardsdatascience.com
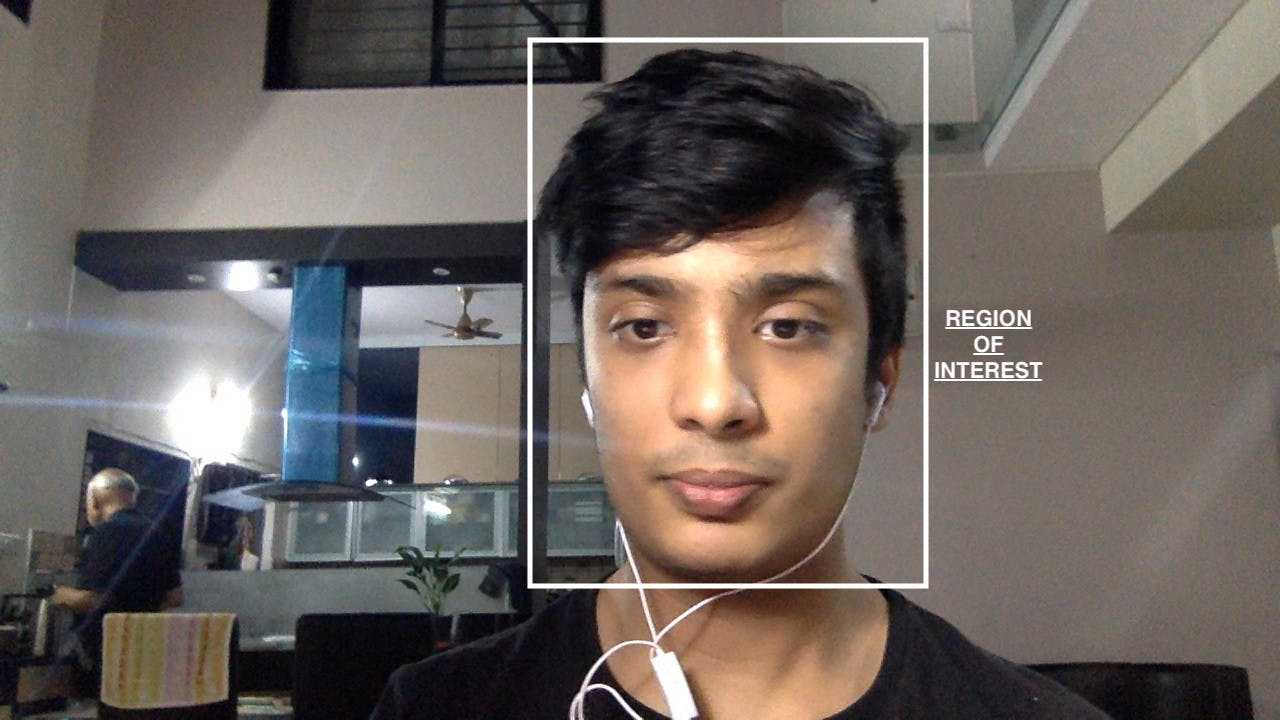
 That’s a very bad picture of me
In the for-loop, we first find all the images that are stored in the Images directory. Now we extract their labels using the folder names that we earlier created. Now each image is converted to grayscale and then we get the region of interest (the region where only the face is present).
Now we train our LBPH recognizer in the last 3 lines and save the facial features data in trained.yml file, and labels in label.pickle file. Note — please collect images of over one person as the classifier cannot be trained for one individual class.
Creating the face detector
This is the face detector, you can use it in multiple projects. It is similar to collecting_images.py file except that it returns the region of face both as image and coordinates instead of saving the image.
This is the main file of the project, it combines everything we have done so far. playsound library is optional, but it allows you to play music as soon as you log in, you can remove it by commenting out. make sure that you have pyautogui installed, this allows our code to type the password.
So, firstly we load our trained.yml file to use the collected data about the face, then we use our face detector class which we created above to get the region of interest i.e. our face with coordinates, then we open our labels.pickle file to get the names of all the users for whom we have saved the images. Now, we use our recognizer (rec) and pass it the region of interest to get the name of the detected person and the confidence level i.e. how sure our classifier is that the detected person is really that person. if the confidence level is > 80% and the detected person’s name is ‘shubh’ (i.e me) then it types in the password (‘Microsoft_Sucks’ in my case, change this to your password) and presses enter automatically. You should change that part to your name and you can also use ‘or’ to allow access to more people. I have also added the code that welcomes me every time you can edit it according to your needs.
One thing is still missing
we haven’t told the computer to run this code on wakeup, let’s do that.
We need to use sleep watcher for this, you can download it from here: https://www.bernhard-baehr.de/. make sure that you put everything in one folder, in the desktop. Now I have prepared a bash script that completes the setup and does everything you need to do.
But before that just create this small file:-
Now, this bash script is run by sleep watcher on login and this script calls our Face_ID.py file. I could not directly run Face_ID.py from sleep watcher as I was getting permission errors even though I gave it all the permissions, please comment if you know the reason why.
Now let’s create the final file that completes the setup.
This file completes the setup of sleep watcher, starts collecting_images.py and creating_files.py. now you can exit the code and quit the program.
open the terminal and run this code to start the program.
/usr/local/sbin/sleepwatcher --verbose --wakeup ~/Desktop/Face_ID/hello.sh
if you are having any issues, check the structure of the directory with mine on GitHub.
Any ideas to improve this code? Let me know below.
